

Posted: October 3, 2016
(This is part 2 of a continuing series that I am writing about building your very own Facebook Messenger bot. The first article can be foundhere.)
Now that I explained the “what” behind Facebook’s Messenger Bots, I’m sure you’re excited to get started building your own bot. We need to take a few minutes to discuss what tools we will use for this bot. To my knowledge, I haven’t been able to find a good tutorial that details this process in a complete, easy-to-follow fashion. Many of the tutorials assume some level of previous experience with web-servers, Facebook applications, or installing terminal packages. I’ll assume nothing and leave no detail uncovered
The Facebook Page
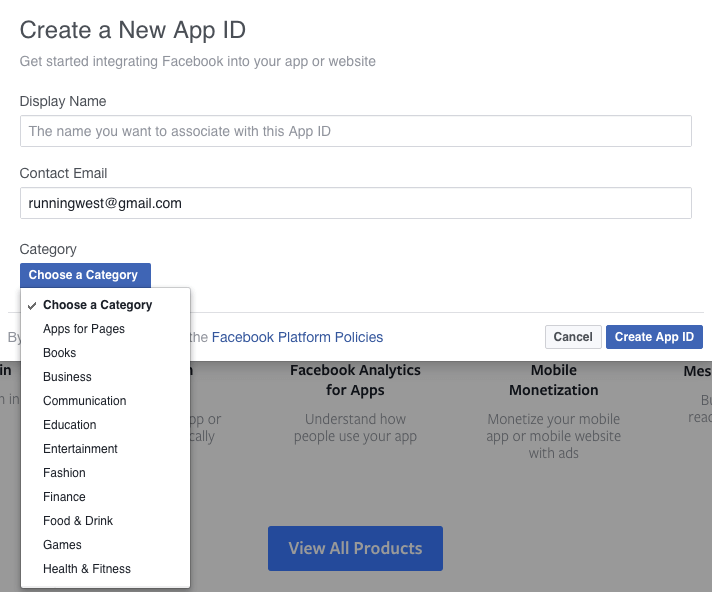
Facebook has a page of tutorials, documentation, and descriptions of apps for their platform at developer.facebook.com. There are few different methods to create an app that integrates with Facebook. You may be familiar with websites or iPhone apps that use Facebook to login (sometimes called “single-sign-on”). Other apps allow users to post high scores on their Facebook, or invite friends to compete. Today we will focus on “Apps for pages” which allow us.
You’ll need to create a Page. It’s similar to a personal Facebook page, but generally used for websites or businesses. If you’re not sure what your page should be about, why not create a personal one? Chris Messina, creator of the hashtag, has a personal page here, that integrates with his personal chatbot here. The Page isn’t like Facebook friendship, you have followers who can receive notifications of your Page posts without being “friends” on Facebook. Think of it as a more public version of your private, personal profile.
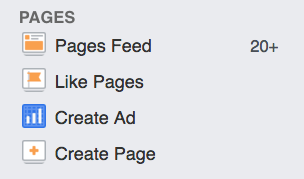
In order to create a Facebook page, you’ll need a personal account (no one will know they are connected, you just need a personal account to manage a public page), go to the sidebar and click “Create Page.” Add some pictures, maybe post a few things. Then head over to developer.facebook.com and login to register your account as a developer. Excited yet? We’ll come back to this later
The Server Language
Every time someone messages your chatbot, you’ll need to analyze the input and craft a suitable response, all automatically, with the help of a web server. The easiest way to do this is using NodeJS. You’ll need to download a local version of NodeJS to develop this bot for local testing before we upload it to an actual server. NodeJS is suitable because it uses javascript on the front end and the backend. Many web server languages are more confusing to integrate with front end languages like Javascript, and using the same language on front and back has advantages, not the least of which saving some headaches in learning a new language. NodeJS is becoming more and more popular, with many packages built on top this well-documented platform in the searchable, package manager called NPM (node package manager).
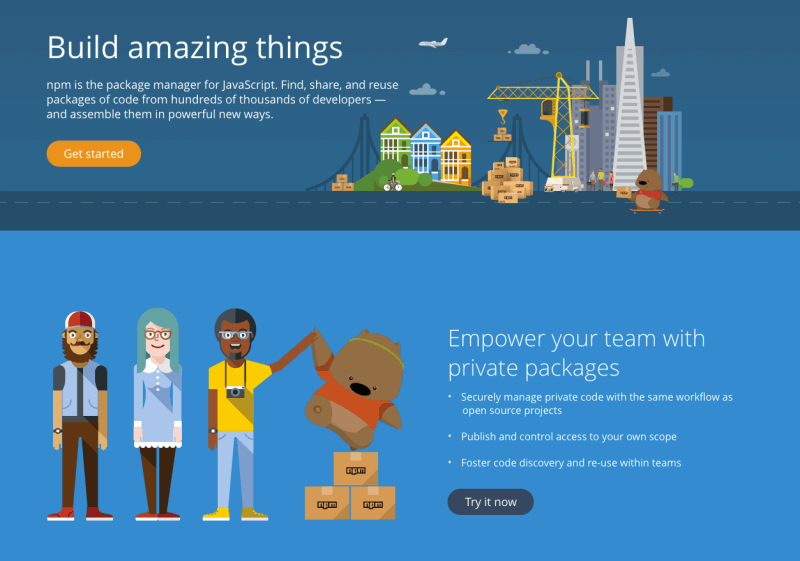
You’ll need to visit the Node homepage and click on the download link to install the Node full installation. When it’s finished, open up the Terminal App and type “which node” and “which npm” and if both commands return an address (/usr/local/bin/node) then you’re good to go.

The Server Hosting
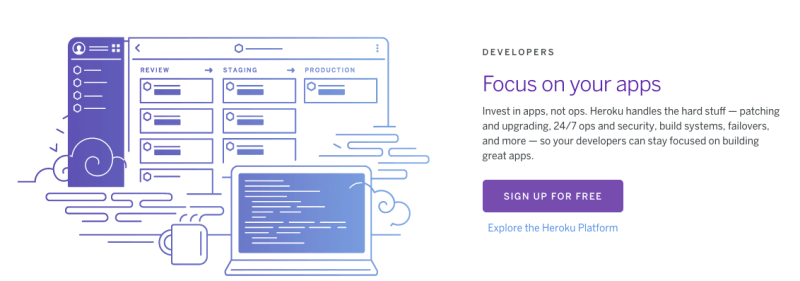
Now that we’ve settled on a platform to build this chatbot in, we need to find hosting. The best option here is Heroku. They have a free tier of hosting for developing apps (assuming we don’t get a large amount of traffic on our small web-app, we will use the free version of hosting). They have amazing integrations for add-ons like database integrations (think MongoDB) or secure sign-in (think StormPath APIs). While we won’t use these today, it might be useful to get familiar with Heroku for your future projects with a bigger scope. We will find some useful graphical inputs for our Facebook app tokens, too.
You’ll want to download the Heroku Command Line Tools. Click here to go to the documentation page to learn how to install the command line tools. When you’re done, open up the terminal application and type “heroku –version” and if the install worked (you may need to restart terminal) you’ll see the version number echoed on the next line.
Review
Today, the only steps we completed are:
1. Create a Facebook Page
2. Download and install NodeJS
3. Download and install Heroku Command Line Tools
Next week we will start coding! Stay tuned…
Published on July 25th, 2017Last updated on August 10th, 2017