
Posted: October 11, 2016
This is a continuing series that Jeffrey is writing on how to build Facebook Messenger bots. For part 1, go here, and for part 2 go here.
Let’s get straight to work. We’ll build the entire app in one 30 minute sitting! Here goes nothing:
- Create a Facebook page.
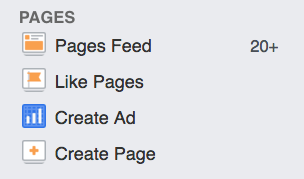
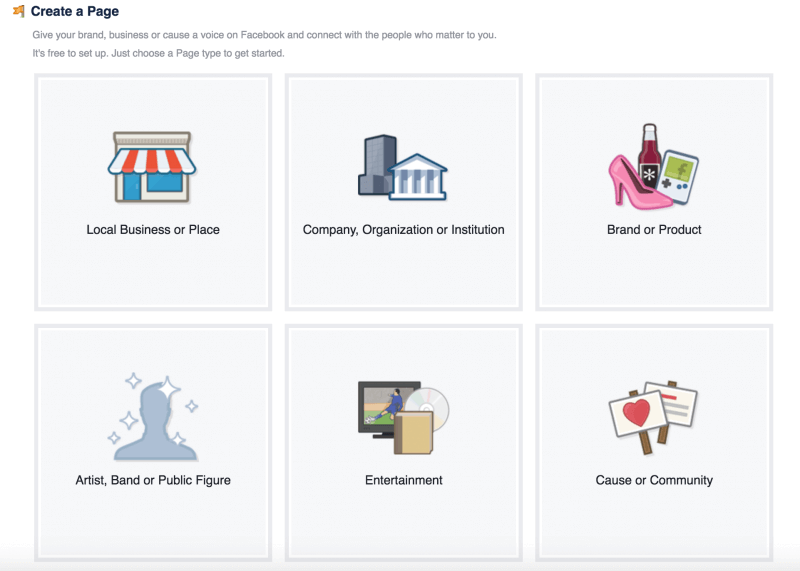
You’ll need to log into Facebook (from your personal account, the same account that you plan to use to manage this messenger bot) and on the left sidebar click: +Create Page. The next screen invites you to select the page type. I chose a “community” page, with the idea that I could create a community of people interested in Facebook Messenger bots. You might want to choose a different category. If you’re not sure, why not choose “Brand” and try to build a bot that is true to your personal ‘brand’ – use that to market yourself as a forward-thinking tech person who has their own bot.
Add a description and profile picture to your Facebook page and you’re ready to roll. Mine is https://www.facebook.com/jeffreythebot, what’s yours?
- Setup the Facebook developer account.
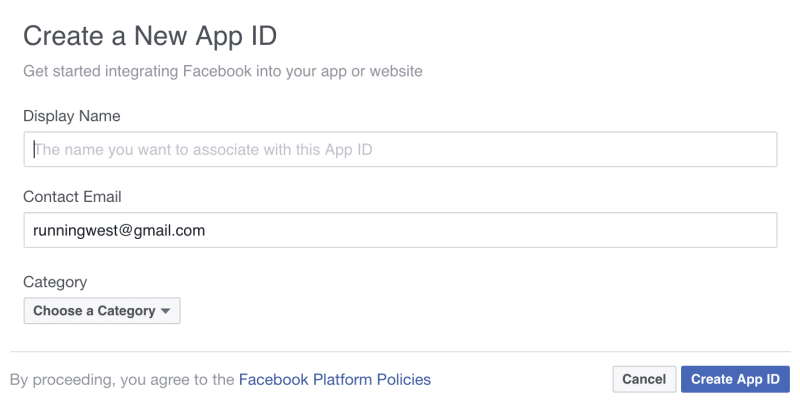
Go to developers.facebook.com. You’ll be prompted to login (be sure to use the same account that you used to set up the page). Click on the top right menu (“My Apps”) and select “Add a new app.”
You’ll be prompted to input your Display Name and a contact email. Be sure to select the category “Apps for pages” as we’ll be connecting this app to our Facebook page. Are you excited yet? Click “Create App ID”
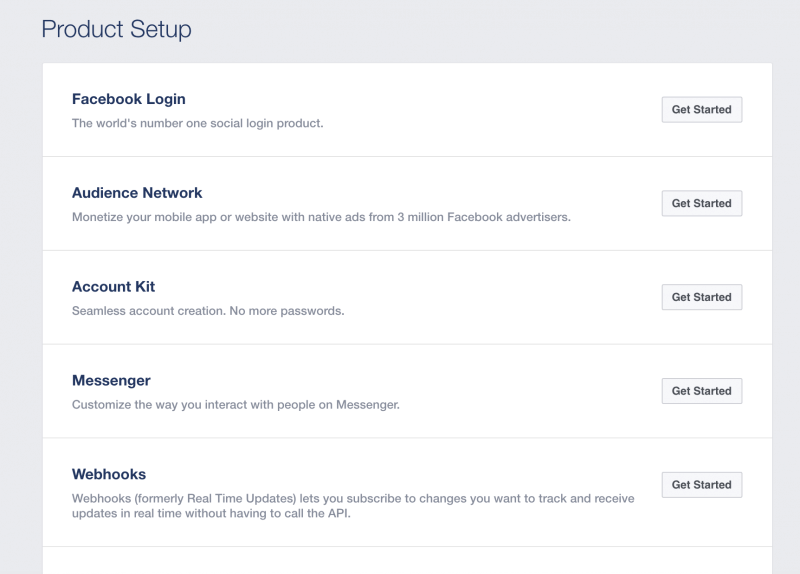
Now, you’ve landed on the Product Setup page on the Facebook dev center. Scroll down until you see “Messenger” and click “Get Started.” Read the information panel and click Get Started once again.
Page token is required to start the API communication between the web server that we will create in a minute and the Facebook page. Click the drop down menu to select the proper page to connect (i.e. “Testbots” from Step 1) and you’ll have to authorize with a Facebook sign-in. It will generate a token. This is important, but we’ll use it in a bit. You’ll come back to this page during step 4, to generate a Webhook, but first we have to setup our server.
- Setup a Heroku server.
Heroku is amazing. Lots of scalable functionality in distributing web apps. Go to heroku.com to setup an account and click “New -> Create new app” in the top right corner. Name your web app (why not keep it the same and call it “testbots”?). Well shoot, that name is taken (each Heroku web app must be unique), so I’ll settle for “testbots-jeffrey” instead.
Deployment
Generally, I use the GitHub deployment method for Heroku apps. The reason is because GitHub has a dope GUI application (https://desktop.github.com/) and I’m lazy when it comes to remembering git terminal commands. Click on the GitHub option in the Heroku new app panel that we’ve been working on. Create a new repository through the Desktop Application or the website (github.com) and then head back to heroku.com to select that repo. Click connect and get ready to roll.
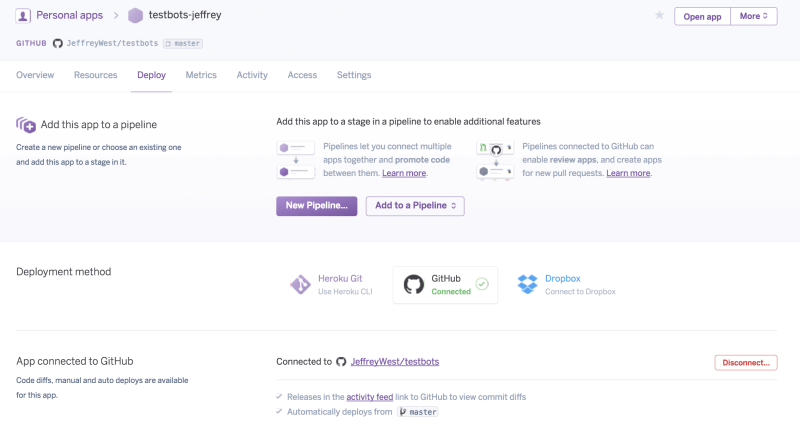
It’s good to enable automatic deploys on Heroku, too. You can either select a particular branch to automatically deploy, or just keep your master branch as the automatically deployed (which is what I do).
- Local development in Nodejs.
Open up the Terminal App. I had asked you all to install NodeJS in the previous tutorial, but if you haven’t go to https://nodejs.org/en/, restart your terminal and type “which node” and “which npm” to verify that install.
Next, navigate to the local version of your GitHub repo. We’ll add three files here:
I’ve linked each of these to my personal repo that I used to make this tutorial. You can download them, move them into your local repo and push it to GitHub when you’ve made the appropriate changes!
The index.js is where the main functions for our web server go: we’ll add a simple POST for the /webhook page here, and begin to tell the server how to communicate with the Facebook app we’re setting up on developers.facebook.co. On line 17 of this, you’ll need to update your token:
if (req.query[‘hub.verify_token’] === ‘pick_a_good_token_name’) {
After that, push your app to GitHub, and if we’ve used the automatic deployment with Heroku described earlier, it will push automatically, within a few seconds. Go to your homepage (go back to your Heroku dashboard and click “open app” or go to the URL, which was (https://testbots-jeffrey.herokuapp.com/) for me. If it worked, you’ll see the text “This is a TestBot Server.” The /webhook URL still doesn’t work, because we have to add the token to Heroku as well.
We’re almost done!
Published on July 25th, 2017Last updated on January 20th, 2021